Part 2
The method to draw a classical labyrinth, was still a topic of an article. That is now presupposed to be familiar. Who cannot remember so exactly, might check again:
How to draw a Labyrinth, Part 1
Here it is to be explained how one can design a classical labyrinth in a mathematically correct way. The same principles are to be followed. Only the lines should not be drawn free-hand, but quite exactly. A labyrinth consists only of straight lines and circular arcs. A spiral does not occur therein. It is not symmetrical, but can be mirrored however.
More exactly said, it consists of semicircles and quarter circles, which meet without a break at a common tangent.
There are altogether 5 centers. The four turning points are the centers of the quarter circles, and the center of the labyrinth is also the center of the upper semicircles.
We look at the construction step by step:

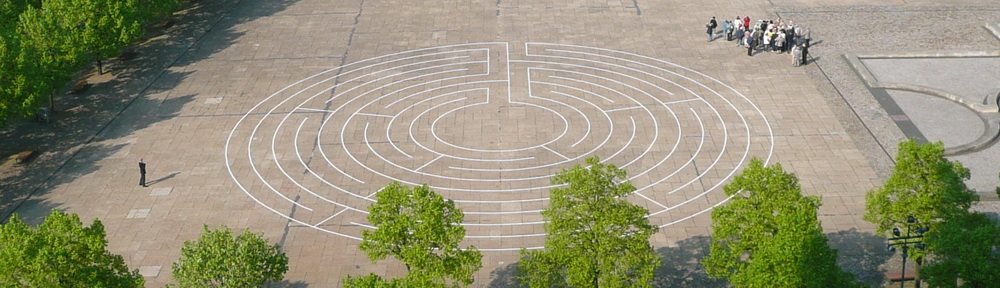
Picture 1
Fig. 1 shows the basic pattern, consisting of the square with a cross and the four angles in the quadrants and four points in the corners. Those become the centers of further arcs. In addition they form the four turning points in the labyrinth. The whole labyrinth is thus already contained in this sample put on. The broken lines are auxiliary lines.

Picture 2
In fig. 2 the upper semicircles are designed. The center of these semicircles is in the middle between the end of the middle upper line of the central cross and the end of the angle in the right upper quadrant. The first internal radius is as largely as half the distance between both lines, thus the half way width. Then 7 semicircles follow around the same center with a radius enlarged every time a way’s width. Thus the center of the labyrinth and the 7 circuits are fixed.

Picture 3
In fig. 3 we continue the construction. The center of the following 5 quarter circles is formed by the left upper point of the basic pattern. All free ends of the upper semicircles are connected with quarter circles around this center up to the left square side (broken line) or their extension. The first radius is as large as the way’s width. The radii change thus, but are connected without a break at the common tangent with the previous arcs of the semicircles.

Picture 4
In fig. 4 the same happens on the right side . All free ends of the upper 6 semicircles are connected with 6 quarter circles. Center of these quarter circles is the right upper point in the seed pattern.

Picture 5
In fig. 5 now the left lower point of the basic pattern forms the center of the quarter circle. There is only one arc. The radius is again as large as the way’s width, connecting without a break the previous arc and the end of the angle in the lower left quadrant.

Picture 6
In fig. 6 the right lower point forms the center of the two last quarter circles, which are necessary for the construction and connection of all lines in the labyrinth. The construction is finished.

Picture 7
Fig. 7 shows the finished labyrinth without the auxiliary lines.
You should try to reconstruct the labyrinth with a measuring stick and a compass. After having finished the drawing you should try with the eyes, or the cursor or the finger to find the way into the center. Or you draw Ariadne’s thread, which runs between the ways with a pencil.
In the labyrinth is not hidden a difficulty mathematical construction.
Thus it appears that its fascination and its mystery are on another level.

Pingback: How to Calculate the Classical 7 Circuit Labyrinth | blogmymaze
Pingback: How to Draw a Classical Finger Labyrinth | blogmymaze
Pingback: How to simply make bigger simple Labyrinths, Part 1 | blogmymaze
Pingback: A Latvian Classical Labyrinth | blogmymaze
Thank you so much for giving everyone an exceptionally marvellous possiblity to read critical reviews from this website. It is often very amazing plus full of a lot of fun for me and my office acquaintances to visit your blog really thrice in one week to study the new items you have. And indeed, I’m just usually contented concerning the dazzling hints you give. Some 4 tips in this article are particularly the most suitable we have all ever had.
Appreciate you for sharing all these wonderful posts. In addition, the perfect travel in addition to medical insurance program can often relieve those considerations that come with vacationing abroad. Any medical emergency can shortly become too expensive and that’s certain to quickly place a financial load on the family’s finances. Having in place the great travel insurance package deal prior to leaving is definitely worth the time and effort. Thanks a lot
LikeLike
Pingback: How to Draw a Labyrinth « blogmymaze
Pingback: How to Find / Draw a New Labyrinth « blogmymaze
Pingback: Au bout du chemin… « In Harmony May I Walk
Thanks for a great website. We are planning to build a labryinth from stones for my 50th birthday with friends. Any hints on how to best mark out the sections – we are thinking of using tent pegs and string so we check the shape is good before we place the rocks.
Any suggestions would be welcome.
regards, Virginia
LikeLike